
The content of the article
Benefits of Home Balm
Any girl holds in her purse one, or even several hygienic lipsticks, but often we are unsatisfied with the results of their use. Typically, the composition of purchased products includes artificial paraffin - a more economical substitute for natural wax and oils.
What is the insidiousness of such a lipstick? Without moisturizing or nourishing the lips, it creates a film on the surface, which in most cases disappears within an hour. In addition, the lipstick from the store, like any “streaming” cosmetic product, causes gradual addiction.
To avoid these troubles and really begin to moisturize and nourish the lips, you can prepare a lip balm from natural ingredients at home. Such a tool will be completely natural, not addictive and will moisturize your lips throughout the day.
How to cook. Folk recipes
How to make hand balm at home? Many fear that making a lip balm with your own hands is too troublesome. We hasten to please you - the nutrient is prepared simply and quickly, and does not require special ingredients other than those that can be purchased at the nearest pharmacy.
It should be remembered that before you try any recipe for lip balm, you need to do a simple test for the presence of allergies to its components. To do this, drip a little oil on the inner bend of the elbow and see what will happen to this area of the skin during the day.
If at the place of application there is no allergic rash, swelling or itching, you can safely use this component. It is also recommended to test each component separately, so that if an allergic reaction occurs, to know what caused it.
3 homemade recipes
With cocoa butter, shea butter and almond
The first lip balm, the recipe of which we will reveal, includes cocoa butter, shea butter and sweet almond. We will need 25 g of wax (any one is suitable, but it is better to use natural bee), 15 g of solid cocoa butter, 25 g of shea butter, 30 g of sweet almonds (liquid oil), 15 g of vitamin E and a drop of tea tree oil.
Cooking
- Melt the wax in a steam bath until it is soft.
- Add cocoa butter, mix well until dissolved, and then add shea butter.
- Boil the lip balm in a steam bath until the solid oils are completely dissolved in the wax, then pour in the liquid almond oil.
- Stir and immediately remove the mixture from the steam bath.
- While stirring, cool the resulting mass a little and pour in vitamin E.
- Continue to mix the mixture until it cools completely, otherwise unpleasant lumps cannot be avoided.
- Then drop a little warm balm of tea tree essential oil (it has antiseptic properties and also gives a pleasant fresh aroma) and mix again.
With honey and lemon
The next useful recipe is a life-giving “winter” lip balm with honey and lemon. To prepare it, we need 25 g of beeswax, 15 g of avocado oil, lemon essential oil and a little honey.
Cooking
- Melt the wax and pour in the liquid avocado oil. Stir the mixture for several minutes.
- Remove the resulting mass from the water bath and add natural bee honey.
- Put a little lemon oil in the mixture and put it to cool in a cool place.
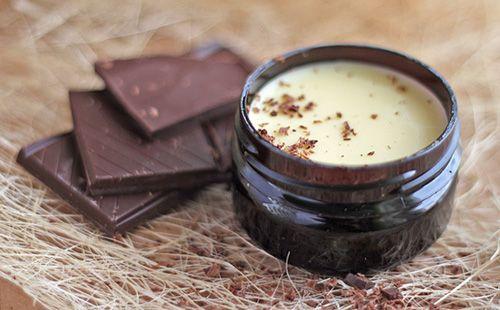
With cinnamon and chocolate
How to make lip balm not only useful, but also “tasty”? The answer is simple - add some chocolate! To prepare a healthy lip balm withcinnamon and chocolate, you need a little Vaseline, dark chocolate (at least 70% cocoa) without flavoring and cinnamon powder.
Cooking
- Melt a couple tablespoons of Vaseline in a water bath.
- While it is heating, grate the chocolate on a fine grater.
- Add the chocolate to the melted petroleum jelly and wait until it is completely dissolved.
- Then add a pinch of cinnamon powder.
- Remove the mixture from the water bath and mix well again.
- Pour the resulting product into suitable small jars.
- Leave them in a cool place for several hours, so that the mass is completely cooled and thickened.
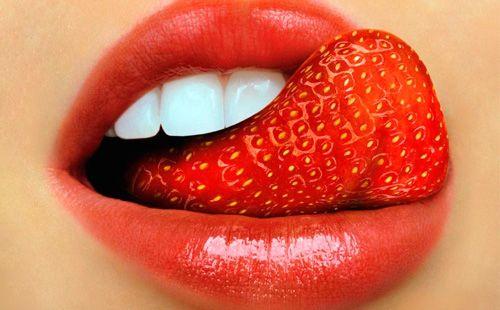
How to make balm brighter
To add bright colors to the balm, you can use natural dyes - bright berries (e.g. strawberries, cranberries, raspberries), sea buckthorn oil (it gives a nice orange tint), or food coloring.
- If you decide to color the balm with sea buckthorn oil, a few drops will suffice, otherwise the result will be a "crazy" bright carrot shade.
- To color homemade lipstick with red berries, it’s enough to boil the sliced foods in one of the liquid oils that you plan to use to make your own lip balm. After the oil has the desired shade, carefully remove the berries with a fork, and strain.
- If you decide to choose food colorings, remember that they need to be added to the finished product at the thickening stage. Add quite a bit of dye and mix thoroughly.
Storage and use
Ready-cooled lip balm can be poured into a special container for lipstick or in a suitable small jar. Do not leave it under the scorching sun or in another warm place, as it can quickly melt and “leak”. Hand-made lip balm, if properly stored in a cool place, will be suitable for quite a long time - from six months to a year.
It is recommended to use homemade balm regularly, evenly lubricating clean and dry skin of the lips day and evening.
As you can see, do-it-yourself lip balm recipes are easy to put into practice. And the resulting completely natural moisturizing mixture will help to cope with constant dryness, weathered skin or unpleasant cracks on the surface of the lips!
